I tried six TikTok beauty trends that have gone viral and tested them out IRL. See the finished looks and read my honest reviews of each.

6 TikTok Beauty Hacks That Totally Changed How I Do My Makeup
Welcome to I Tried It Month, where we’ll be publishing a new fashion, beauty, or wellness article every day in January that features a first-person account of shaking up an old habit, pushing beyond a comfort zone, or simply trying something new. Follow along for 31 days of storytelling, including everything from going without a cellphone for 40 days to trying the polarizing low-rise pants trend.
I'll be the first to admit that I'm a makeup novice. My routine is a simple 5-minute lineup that I repeat day in and day out without much experimentation. It's quick and easy and I like it this way, but all that has changed since I've been on TikTok. One way or another I found my way onto the beauty side of the app and, honestly, my makeup routine is all the better for it.
I've picked up on numerous beauty hacks, makeup application tips, and product recommendations that have actually changed the way I do my makeup (and nails) now which, given that I'm prone to routine, is saying something. Whether it's a simple mascara recommendation from someone ten years my youth or a tutorial from one of the many professional makeup artists that are on TikTok, these six beauty hacks, in particular, have been game-changers. So in true Who What Wear fashion, I test drove them IRL to report back with my honest review. And just to confirm these are legit, I reached out to makeup artist Tobi Henney to get her expert insight and her product recommendations for how to execute each look.
Ahead, watch the TikTok video that inspired me, see my take on it, and shop the products I used to create each look.
Tip #1: Where You Apply Blush Matters
@isaachalvorsen7 #makeup #BeautyTutorial #fyp #blush #beauty #tips
♬ original sound - Isaac Halvorsen

Photo:
@anna__laplacaSo, it turns out the placement of your blush can actually change your face shape. Who knew? Once I noticed this blush trick going viral on the app, I jumped at the chance I tested it out on myself and was delighted to find that it actually worked. By applying blush on the tops of my cheekbones and up to my temples (rather than on the apples of my cheeks), it creates a more lifted look. It's such a subtle swap but seeing the side-by-side in the above video you can tell it makes all the difference.
While I found success with this trick, Henney added that it's actually dependent upon your face shape. "Round and heart-shaped faces can apply blush to the apples of the cheek," she explained, "however, oval-shaped faces look best with blush on the outer part of the cheek bone." Seeing as I fall into the latter camp, it's no wonder that this simple trick was such a game-changer. The higher placement really helps to create a lifted look and draw the eye higher up.
What I used: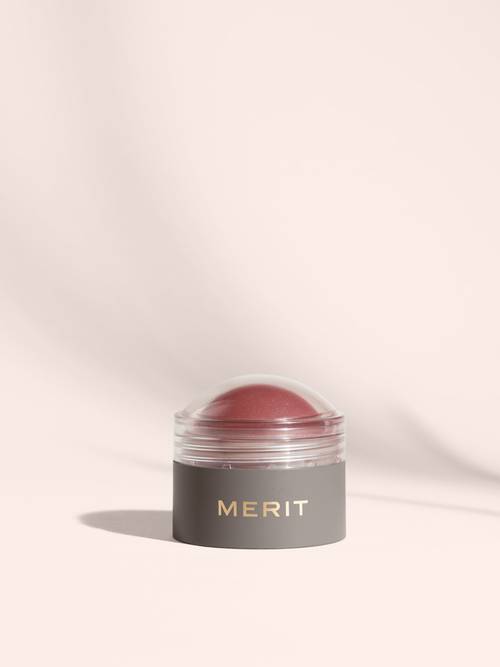
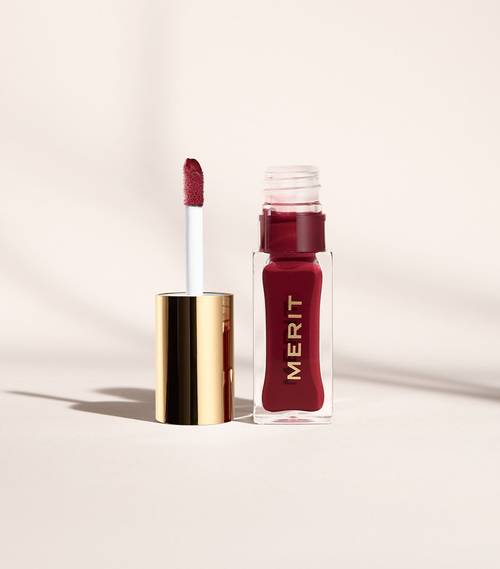

Tip #2: Use Concealer (Yes, Concealer) to Create Fuller-Looking Lips
@sidkidney Did it work !? #fyp #makeuphack #makeuptutorial #biglips #lipgloss #lipfiller #makeupartist #mua #foryou
♬ original sound - Scortezz Beauty
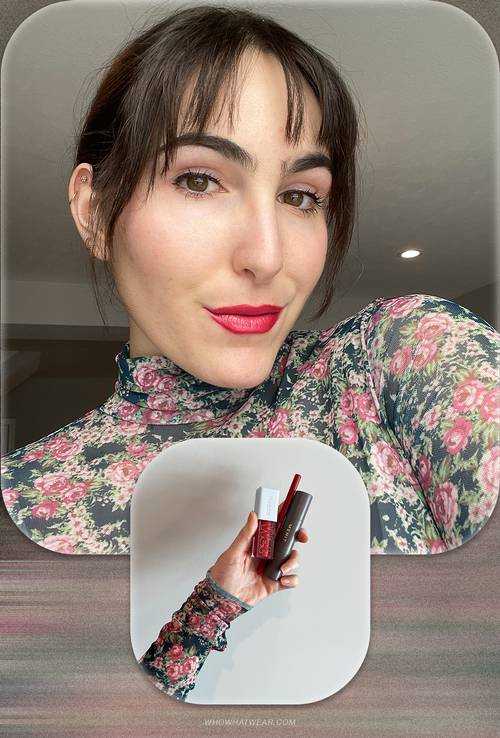
Photo:
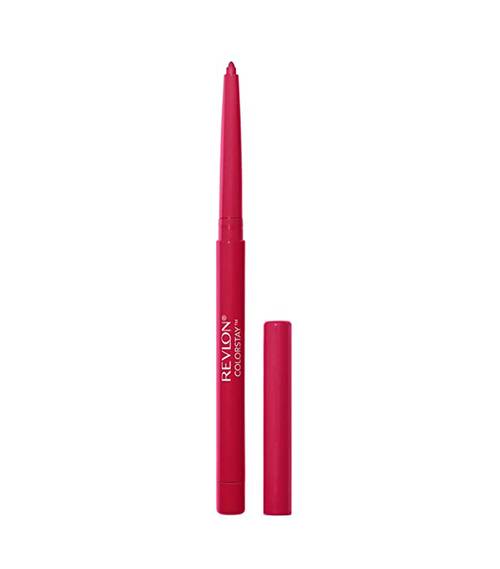
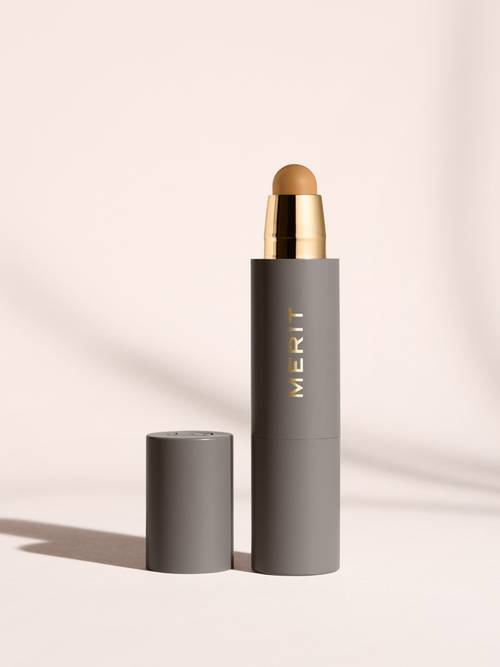
@anna__laplacaThe next makeup trick I came across on TikTok was one I nearly sprung up from my seat to try out IRL. I've always been a tad self-conscious about my thin lips and while there are a number of injectable options I could consider to change that, I was curious to see how effective this lip routine would really be. Henney confirmed that over-drawing the lips is the best way to achieve bigger-looking lips and added that anything with a gloss finish will also give the same appearance. While I tapped into my own makeup collection, her liner recommendation is Victoria Beckham Beauty ($26) and for gloss, she loves Charlotte Tilbury Collagen Lip Bath ($35).
To create the look, I applied lip liner just outside my natural lip line to create a fuller (but not exaggerated) shape and filled them in with the same color. Then, I went in with a concealer stick on just the center of my top and bottom lips and then swiped on a tinted lip gloss.
What I used: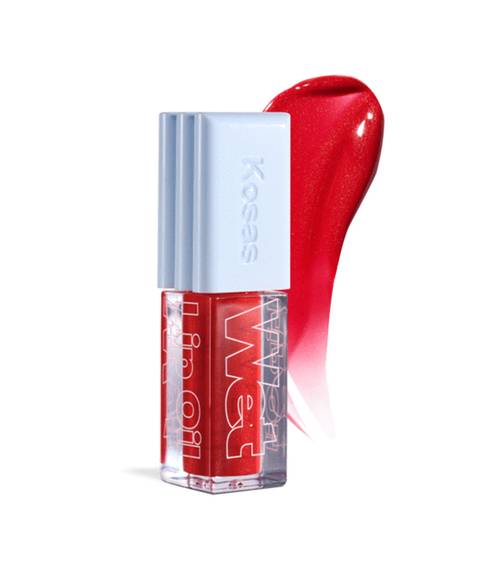
Tip #3: DIY a Smokey Eye with Black Eyeshadow
@sadvirgohours by popular demand, the ultimate catfish eyeshadow look
♬ Space Girl - Frances Forever

Photo:
@anna__laplacaConfession: I've never learned how to do a proper smokey eye. In fact, I try to stay away from eyeshadow palettes in general and have always forced my friends to do my eye makeup when we're getting ready to go out (in pre-pandemic times, of course). But the above clip makes a smokey eye look so easy to achieve and it inspired me to give the look another shot.m"This is a really easy way to create a smokey eye," Henney confirmed, adding that she also likes to create a smokey eye with a black or brown smudgable eyeliner—"try Mac Cosmetics Costa Riche Liner ($19)."
I gathered my darkest pigments and eyeshadow brushes and got to work creating a winged liner with black eyeshadow and then worked in the browns and lighter shimmery tones, following Alison's lead. I was wary not to overdo it on the heavy dark tones, so my finished look turned out lighter than hers, but it made for a pretty everyday makeup vibe.
What I used:

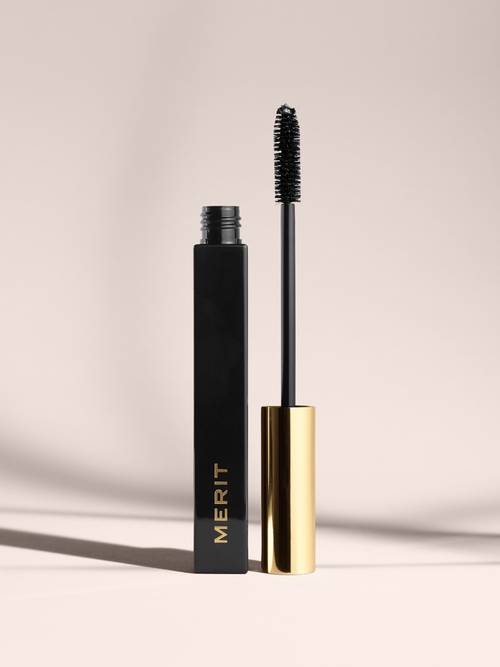
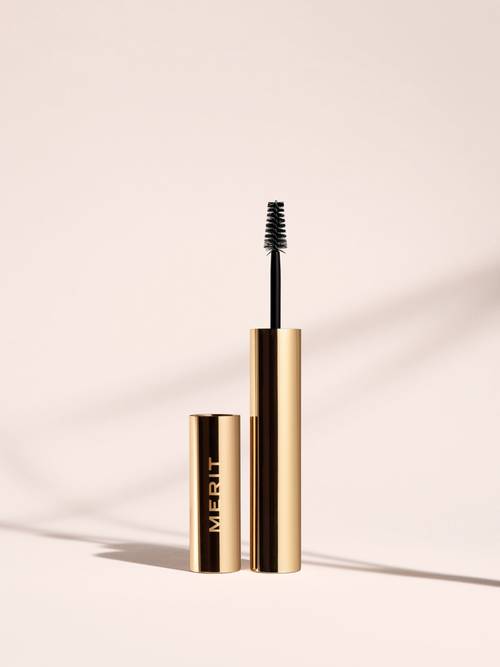
Tip #4: Find a Colored Mascara That Brings Out Your Eye Color
@gabrielletravaglia GREEN EYED PEOPLE!!!!!! thanks to my big sister for showing me this. xoxoxoxo #HeinzHalloween #InteriorDesign #InteriorDesign #makeup
♬ original sound - gabs
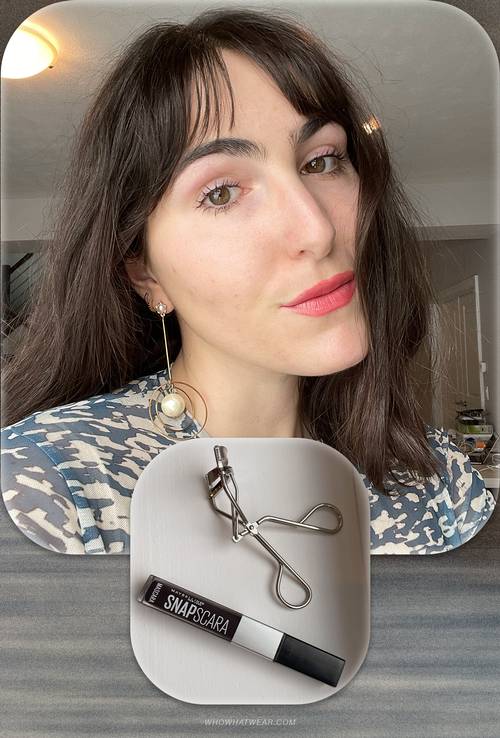
Photo:
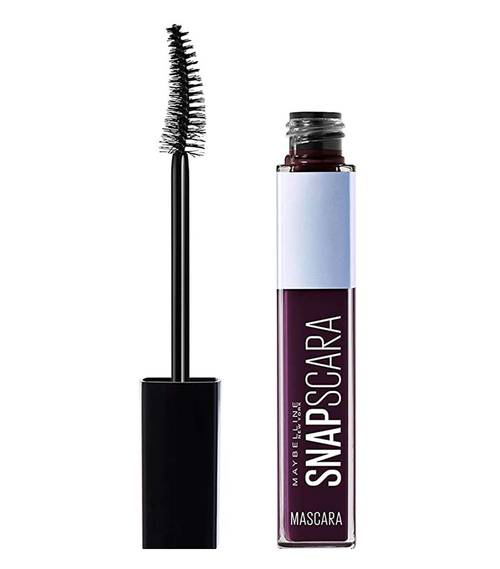
@anna__laplaca"Anything from mascara, eyeshadow, or eyeliner from the burgundy- and purple-toned family will look amazing on green colored eyes," Henney insisted. My hazel eyes are a blend of brown and green, so my ears perked up when I heard that a simple mascara swap could enhance my green tones. While Henney recommends trying Dior's purple mascara, I went the drugstore route with a $4 Maybelline pick and was pleased with the results. She also clued me into her go-to burgundy eyeliner, Marc Jacobs Highliner in (Plum)age ($26), while I'll definitely be trying next to double-down on the color-enhancing effect.
What I used:
Tip #5: Use Color-Correcting Cream to Banish Redness
@thelacouple Part two of trying Dr. Jarts color correcting creme! How do you think it turned out?! #drjarts #skincare #CancelTheNoise #UpTheBeat
♬ original sound - theLAcouple
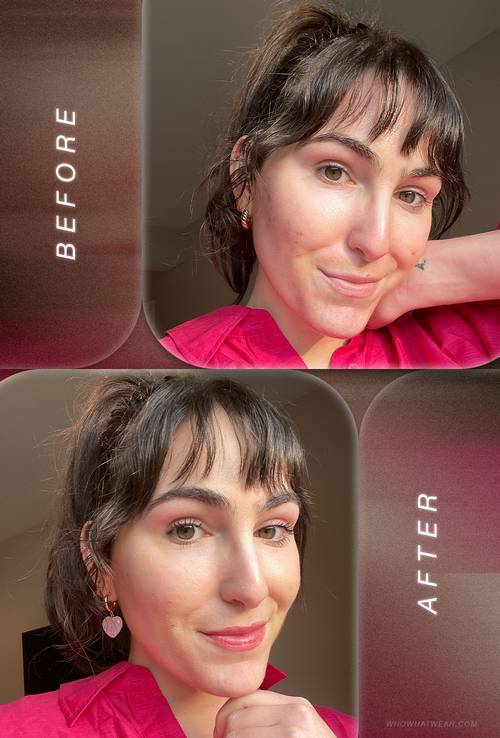
Photo:
@anna__laplacaOkay, this one is less of a beauty "trick" than it is a specific product but it honestly feels like a well-kept secret. A color-correcting cream that goes on green and then literally changes to the color of your skin right in front of your eyes? How did I not know about this sooner? Hyperpigmentation and redness are my skin's M.O., so trying this tone-evening product was like a lightbulb going off. I'm used to wearing a tinted moisturizer, but the Dr. Jart Cicapair Color Correcting Treatment ($52) goes on lighter and doesn't clog my pores the way traditional BB or CC creams do. My one word of advice: start small—a little goes a long way!
What I used: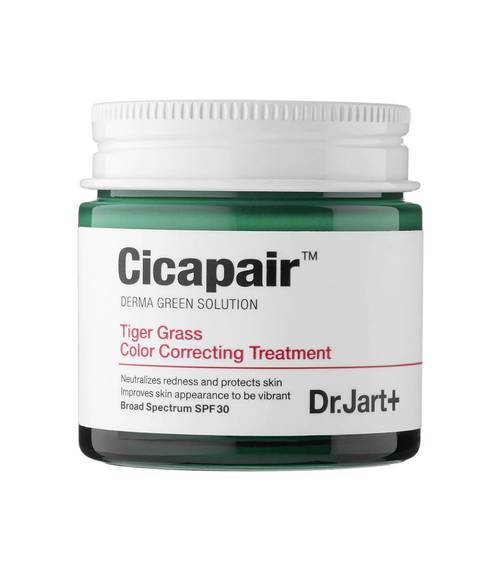
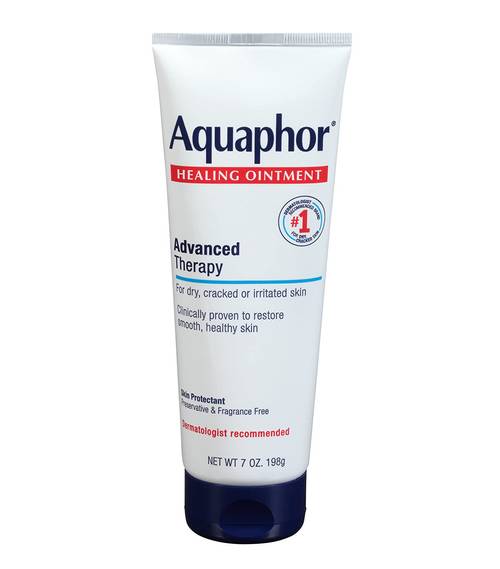
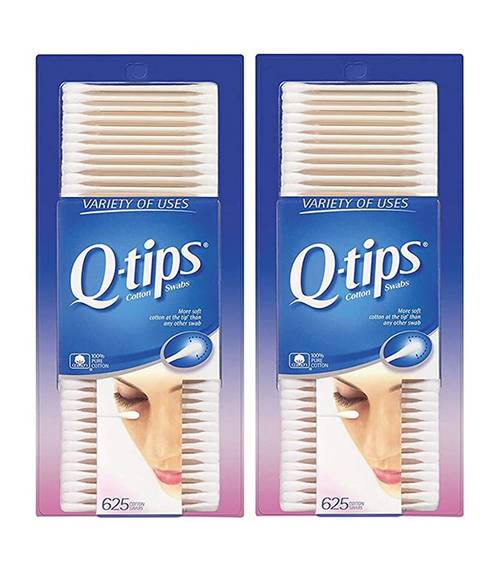
Tip #6: Apply Vaseline to Cuticles for the Perfect Manicure
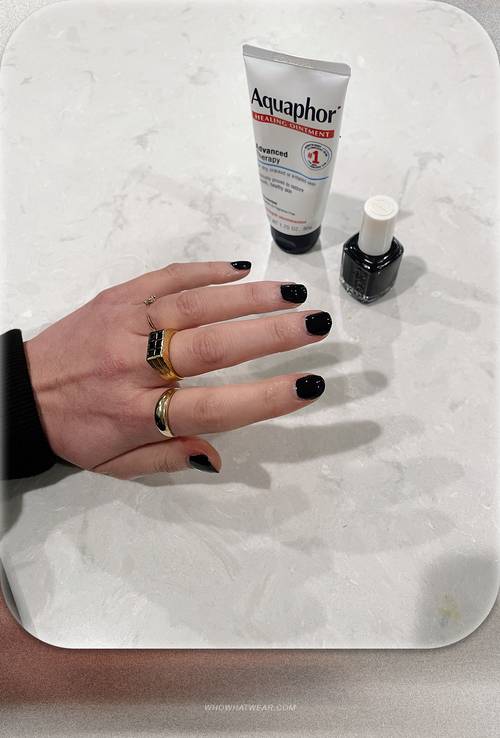
Photo:
@anna__laplacaThe kids of TikTok have all the beauty hacks up their sleeves, let me tell you. Who knew that something as simple as a little petroleum jelly stood between me and a perfect manicure? Although I couldn't source the exact video that clued me into this nail trick, it's a pretty simple idea: you take a bit of petroleum jelly (I had Aquaphor on hand but Vaseline would work as well) on a Q-tip and dab it onto your cuticles before going in with polish. This stops you from painting outside the lines even if your polishing skills are less than top-notch. Then, let your polish dry, wash off the remaining ointment, and behold a crisp, between-the-lines manicure.
What I used: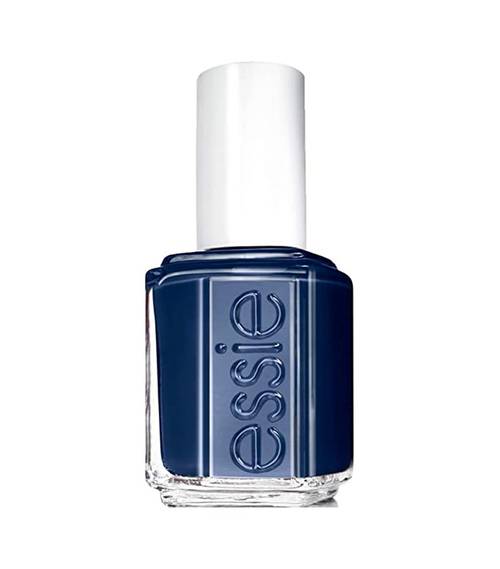
Next up, see the 6 outfit formulas to follow if you want to get on fashion TikTok.
This story originally appeared on: WhoWhatWear - Author:Anna LaPlaca


